A French manicure is a classic and timeless nail design that features a pale pink or nude base with white tips. It exudes elegance and sophistication, making it perfect for any occasion.
While visiting a salon for a French manicure can be a treat, it’s also possible to achieve this chic look at home with the right tools and techniques.
This comprehensive guide will walk you through each step to help you master how to do a french manicure at home.
Why Choose a French Manicure?
The French manicure is beloved for its simplicity and versatility. Here are a few reasons why you might choose a French manicure:
- Classic and Timeless: Suitable for any occasion, from daily wear to special events.
- Elegant and Clean: Provides a polished, sophisticated look.
- Versatile: Complements any outfit and style.
- Easy to Maintain: With a little practice, it’s easy to touch up at home.

Tools and Supplies Needed for French Manicure
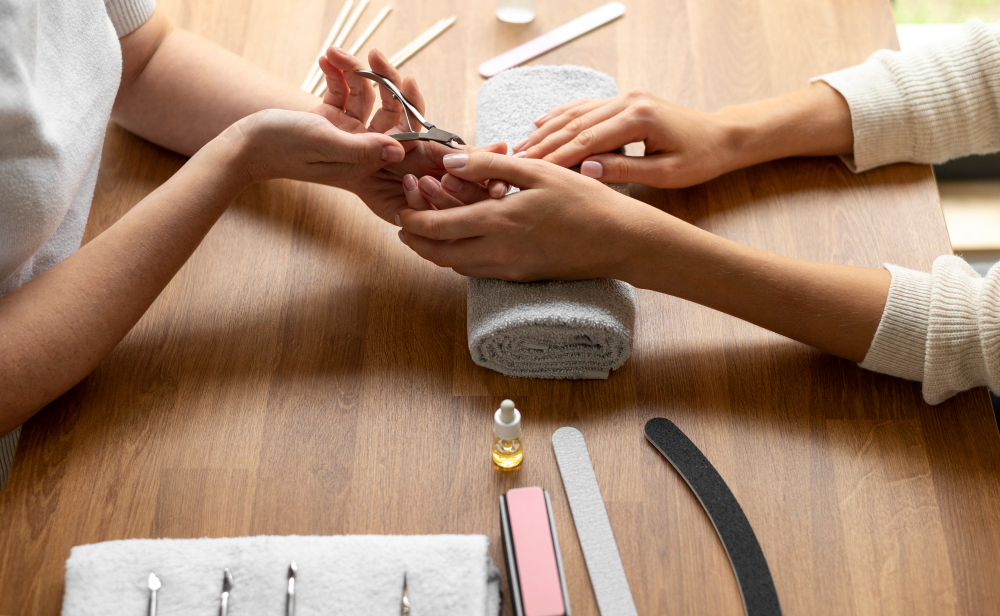
Before you start, gather all the necessary tools and supplies. Here’s what you’ll need:
- Nail polish remover
- Cotton pads or balls
- Nail clippers
- Nail file
- Cuticle pusher or cuticle stick
- Nail buffer
- Base coat
- Sheer pink or nude nail polish
- White nail polish
- Top coat
- Nail polish remover pen or a small brush for cleanup
- Nail guides or tape (optional)
How to Do a French Manicure at Home: Step-by-Step Guide
Step 1: Prepare Your Nails
1. Remove Old Nail Polish: Use nail polish remover and cotton pads or balls to remove any old nail polish. Ensure your nails are clean and free of any residue.
2. Trim and File Your Nails: Trim your nails to your desired length using nail clippers. Use a nail file to shape your nails. The classic French manicure typically features a rounded or square shape.
3. Push Back Cuticles: Soak your hands in warm water for a few minutes to soften the cuticles. Use a cuticle pusher or stick to gently push back your cuticles. Avoid cutting your cuticles, as this can lead to infection.
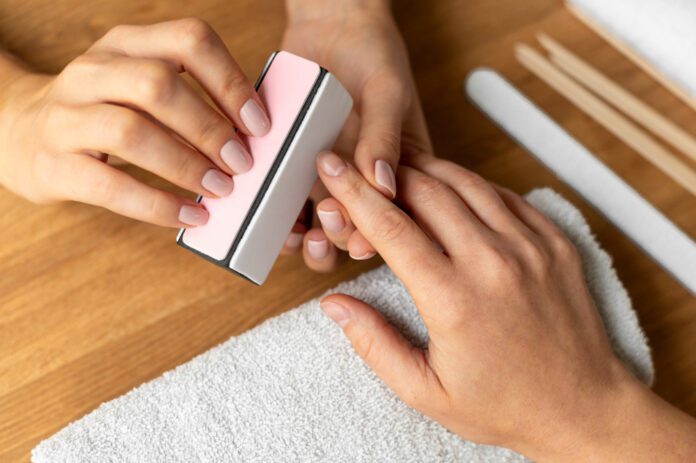
4. Buff Your Nails: Use a nail buffer to gently buff the surface of your nails. This helps to smooth out any ridges and create a perfect canvas for your polish.
Step 2: Apply the Base Coat
Applying a base coat is crucial for a long-lasting French manicure. It protects your nails and provides a smooth surface for the polish.
1. Apply a Base Coat: Apply a thin layer of base coat to each nail. Allow it to dry completely before moving on to the next step.
Step 3: Apply the Sheer Pink or Nude Polish
The sheer pink or nude polish serves as the base color for a French manicure.
1. Apply the Base Color: Apply a thin layer of sheer pink or nude polish to your nails. Allow the first coat to dry, then apply a second coat for a more opaque finish. Let the polish dry completely.
Step 4: Create the White Tips
Creating the white tips is the defining step of a French manicure. You can use nail guides, tape, or freehand the tips.
1. Use Nail Guides or Tape (Optional): If you’re not confident in freehanding the tips, use nail guides or tape to create a clean line. Place the guides or tape just below the natural tip of your nails.
2. Apply the White Polish: Dip the brush of your white nail polish into the bottle, wiping off excess polish. Starting at one side of the nail, draw a line across the tip to create the white edge. Repeat on all nails. If you’re freehanding, use a steady hand and follow the natural curve of your nail tips.
3. Clean Up Any Mistakes: Use a nail polish remover pen or a small brush dipped in nail polish remover to clean up any mistakes or uneven edges.
4. Apply a Second Coat (If Needed): If the white tips are not opaque enough, apply a second coat of white polish. Allow the polish to dry completely.
Step 5: Apply the Top Coat
The top coat seals your manicure, adds shine, and extends its longevity.
1. Apply a Top Coat: Apply a generous layer of top coat over the entire nail. This will help to smooth out any ridges between the base color and the white tips, giving your nails a professional finish.
Step 6: Clean Up and Final Touches
1. Clean Up Edges: Use a small brush dipped in nail polish remover to clean up any polish that may have gotten on your skin or around the edges of your nails.
2. Moisturize Your Hands: Apply hand cream or cuticle oil to moisturize your hands and nails. This helps to keep your cuticles healthy and your hands looking polished.
French Manicure Tutorial – Video
Tips for a Perfect French Manicure
- Practice Steady Hands: If you’re freehanding the white tips, practice keeping a steady hand. Resting your elbow on a flat surface can help stabilize your hand.
- Use Thin Coats: Applying thin coats of polish allows for better control and faster drying times.
- Be Patient: Allow each layer of polish to dry completely before applying the next. This prevents smudging and ensures a long-lasting manicure.
- Experiment with Colors: While the classic French manicure uses pink and white, don’t be afraid to experiment with different colors for a modern twist.
- Regular Maintenance: Keep your nails looking fresh by touching up the tips and applying a fresh layer of top coat every few days.
Conclusion: Enjoy Your Beautiful French Manicure
Achieving a flawless French manicure at home is possible with the right tools, techniques, and a bit of practice. This classic nail design is versatile, elegant, and suitable for any occasion.
By following this step-by-step guide, you can enjoy salon-quality nails in the comfort of your own home. With a little patience and attention to detail, you’ll be able to master the art of the French manicure and enjoy beautiful, polished nails anytime you desire.


